Finding Your Courses and Class Lists in Moodle
This guide walks you through how to find your courses in Moodle, star courses you visit frequently, and view/export your class list.
Quick Links
- Find a Course on the Moodle Home Page
- Using Moodle Search
- Starring Your Courses
- Exporting a Class List Option 1: Moodle
- Exporting a Class List Option 2: myCambrian
Finding Your Courses on the Moodle Home Page
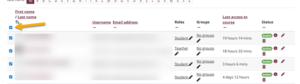
When you log into Moodle, your newest term’s courses will appear at the top of the Home page.
If your courses are hidden, they will appear at the bottom of the Home page instead.
Example: 
Hidden courses also do not appear on the My Courses or Dashboard pages, and must be accessed from the Home page.
Instead of hiding courses in the course settings, we recommend using the Bulk Edit tool to hide the contents instead.
Using Moodle Search
Moodle has a search feature on the home page to help you quickly locate your courses.
- From the Moodle home page, use the search bar at the top.
- Enter the course code.
-
- Be sure to include the hyphen.
- Correct: ACC-1000 ✅
- Incorrect: ACC1000 ❌
-
- To narrow down your search, you can also add the term code. “202509” is the current term.
-
- Example: ACC-1000 202509
-
Tip: The search is fussy. If you don’t see your course right away, check that you’ve typed the code with a hyphen and used the correct term. You can also use CTRL + F to search your home page instead of the search box in Moodle.
Starring Your Courses
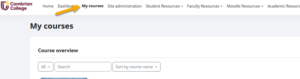
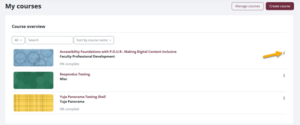
You can save all of the courses you are currently working on under my Courses:
- Go to the My Courses page.
- Find the course you want to keep handy.
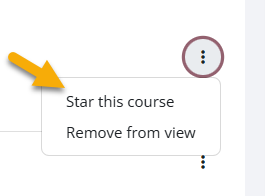
- Click the three dots next to the course you want to star.
- Click Star this course.
Exporting a Class List
You can export your class list either from Moodle or from myCambrian. The myCambrian export does not include student email addresses. If you need emails, use the Moodle export option instead.
Option 1: Exporting from Moodle
You can export your course’s participant list into Excel or another file format.
- Step 1: Open Your Course
- Log in to Moodle.
- Select the course you want the class list from.
- Step 2: Go to Participants
- From the menu at the top of your shell, click Participants.

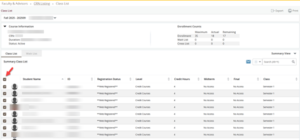
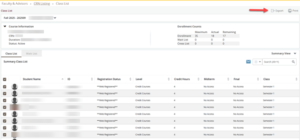
This will show a full list of students enrolled in your course.
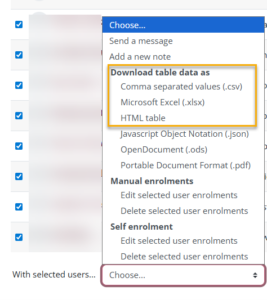
- Step 3: Select the students
- Step 4: Export the List
- Scroll to the bottom of the page.
- Click the With selected users… dropdown.
- Choose Download table data as.
- Select your preferred format (most common is Excel spreadsheet (.xlsx), HTML table or CSV file).
- Step 5: Save the File
- Your file will download automatically.
- Open it in Excel or another spreadsheet tool to view and work with your class list.
Option 2: Exporting from myCambrian
- Step 1: Navigate to the faculty dashboard
- Sign into myCambrian.
- Select the Faculty tab from the menu.
- Step 2: Click the class list button

- Step 3: Select the Course
- Click the negative space or the subject for the course you want.
-
-
- Do NOT click the course title or CRN.
-
- Step 4: Select Participants
- Click on the participants you want to include.
- To select all, use the button at the top of the list.
- Step 5: Export
- Click the Export button at the top right of the page.
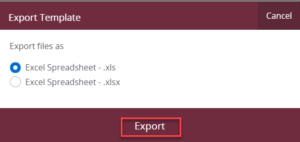
-
- You will then choose the desired file format and click Export.